
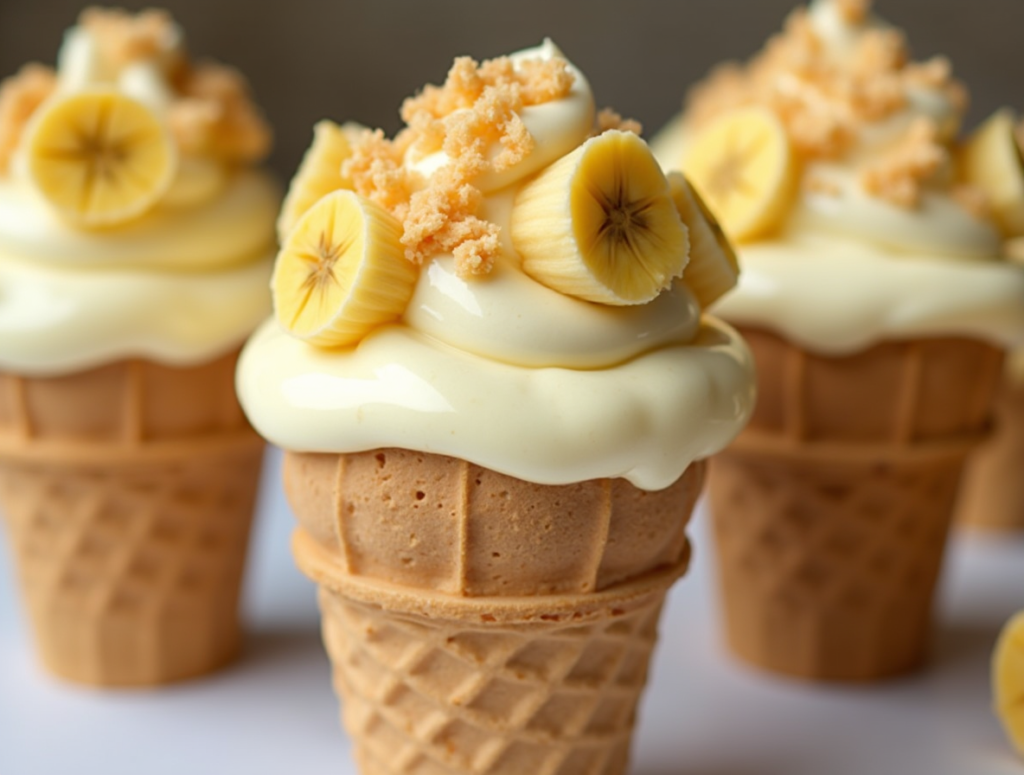
Craving a delicious twist on traditional banana pudding? These Banana Pudding Cheesecake Cones offer the perfect combination of creamy cheesecake filling, banana pudding, and a crispy waffle cone for an irresistible dessert. This no-bake recipe is quick, easy, and ideal for any occasion, from family gatherings to casual weeknight treats.
These cones deliver all the nostalgic flavors you love, with the added crunch of a cone, making them a fun and portable dessert option. Get ready to impress your taste buds with this simple yet indulgent treat!
Why You’ll Love This Recipe
- No oven required – A perfect dessert for warm days or quick cravings.
- Perfect for any occasion – Great for parties, picnics, and special celebrations.
- Easily customizable – Add your favorite toppings like chocolate drizzle, caramel, or crushed nuts.
Ingredients for Banana Pudding Cheesecake Cones
Essential Ingredients
| Ingredient | Amount |
|---|---|
| Cream cheese | 8 oz (softened) |
| Instant banana pudding mix | 1 package |
| Heavy cream | 1 cup |
| Sugar | ½ cup |
| Waffle cones | 6-8 cones |
| Crushed vanilla wafers | 1 cup |
| Fresh bananas | 2 (sliced) |
| Whipped cream | For topping |
| Vanilla extract | 1 tsp |
Optional Additions & Substitutions
- Dairy-free? Use plant-based cream cheese and coconut whipped cream.
- Extra crunch? Swap vanilla wafers for crushed graham crackers.
- Chocolate lover? Add mini chocolate chips or a drizzle of melted chocolate.
Step-by-Step Instructions
Preparation
- Gather all ingredients and allow cream cheese to soften at room temperature.
- Crush vanilla wafers into fine crumbs and slice the bananas evenly.
Mixing the Filling
- In a mixing bowl, beat cream cheese, sugar, and vanilla extract until smooth.
- Prepare the banana pudding mix according to package instructions.
- Fold the pudding into the cream cheese mixture until fully incorporated.
- Gently mix in the whipped cream for a light, airy texture.
Assembling the Cones
- Spoon or pipe the cheesecake filling into the waffle cones.
- Sprinkle crushed vanilla wafers on top for added texture.
Finishing Touches
- Garnish with banana slices and a dollop of whipped cream.
- Optional: Drizzle with caramel or chocolate sauce for extra indulgence.
Best Ways to Serve
Ideal Occasions & Pairings
- Perfect for parties – Serve at birthdays, BBQs, or summer get-togethers.
- Best paired with – A tall glass of iced coffee or a vanilla milkshake.
Creative Presentation Ideas
- Arrange cones in a decorative holder for an elegant touch.
- Wrap each cone in parchment paper for easy serving.
Storage & Make-Ahead Tips
Proper Storage
- Store leftover cheesecake filling in an airtight container in the refrigerator for up to 2 days.
- Keep waffle cones separate until ready to serve to maintain their crispness.
Make-Ahead Suggestions
- Prepare the cheesecake mixture in advance and refrigerate it until assembly time.
- Fill cones just before serving for the best texture and crunch.
Freezing Advice
- Freezing is not recommended, as cones may become soggy over time.
Did You Try Our Recipe ?
Frequently Asked Questions
Can I Use a Different Pudding Flavor?
Yes! Try vanilla, chocolate, or butterscotch for a creative variation.
How Do I Prevent the Cones from Getting Soggy?
Fill the cones right before serving and store the filling separately until needed.
Can I Use a Cup Instead of a Cone?
Absolutely! Layer the cheesecake filling in dessert cups with crushed wafers for a deconstructed version.
Related Recipes
Conclusion
These Banana Pudding Cheesecake Cones bring together the best of both worlds—banana pudding and cheesecake—served in a fun, handheld cone. Whether you’re making them for a party or just to satisfy a sweet craving, they’re sure to be a hit. Try this recipe today and share your thoughts in the comments!